


Summer Jam Sess: Final Act
blow some raspberries as we wrap out


Much like summer, every jam sesh must come to an end. We’ve covered some of the basics behind preserving summer fruit, why there’s gotta be sugar in there, and all the different categories of jam-ish related things. Take what you’ve learned here and start creating your own quirky preserves and tell us how they turn out. We still got a couple more good months of fruit ahead of us so if you haven’t started dreaming up new jams NOW IS THE TIME, THE DEAD HAND OF AUTUMN DRAWS CLOSER..

A note on measurements: if you love the kinda loose canning process we’ve done here and want to start really Canning with a capital C, you’re gonna need a kitchen scale. Measuring your ingredients by weight adds a precision to the process that helps ensure when you put your preserves in the pantry, that everything stays delicious until you pop that top off months later. There are tons of options online and many are under $20. This same scale will come in handy if you decide to get into baking or just wanna really nail down some homemade bread. If you have the space and the cash, a scale is an excellent kitchen investment. We’ve used the same cheap one for at least 15 years and it’s still going strong 4 cookbooks later.

The last recipe we leave you with is the loosest jam we’ve shared here. It’s more of a scooper than a spreader, if ya pick up what we’re laying down. Neither mango nor raspberries are rich in pectin so this jam won’t thicken up the way the Mixed Plum and Ginger Jam did. Sure, you could add more pectin to the process but honestly, we like it in its simplest form.
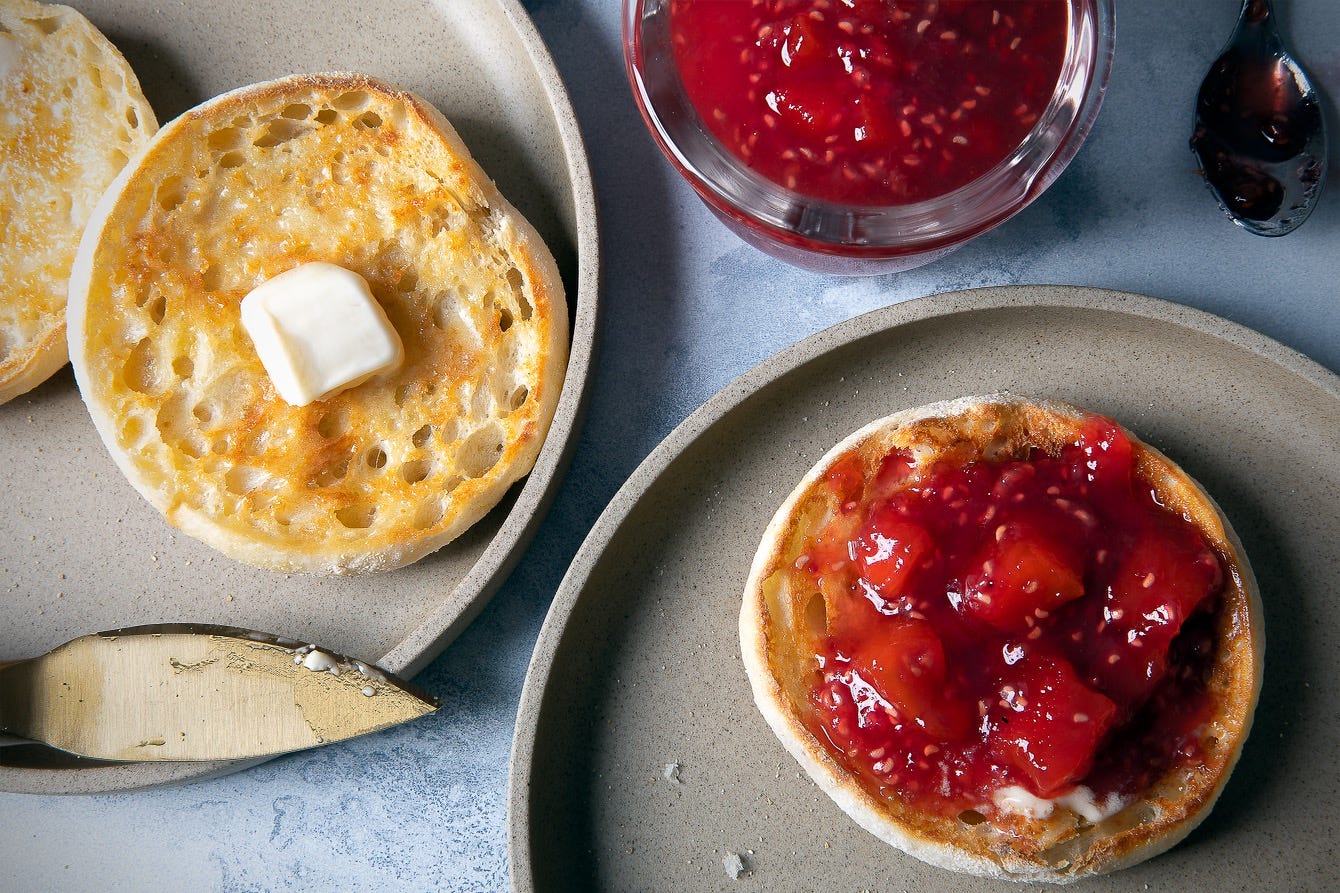
We love this swirled into a milkshake or smoothie, dolloped on oatmeal, or spooned over a hot English muffin. The chunks of mango add a surprising something that makes plain raspberry jam feel unworthy of your time. Can’t find a mango? Sub in 2 peaches and GET TF BACK IN THE KITCHEN..
Raspberry Mango Jam
Makes about 2 pints
2 pints of raspberries
1 ripe mango, peeled and cut into small chunks*
2 ½ cups of sugar
Juice of 1 lemon
Dump the raspberries and chopped mango in a pot and mix in the sugar and lemon juice. Let that shit sit on the stove for about 15 minutes so the raspberries can start breaking down a lil before you add heat to the equation. Stick a small plate into your freezer for later. Once you see some juice in the pot, it’s time to warm it up.
Get the pot simmering, then turn the heat down to medium low, all while keeping a gentle simmer. The pot will foam up a little so stir occasionally and scrape down the sides to keep any sugary stuff from burning. After a while, the foam should calm the fuck down and the jam will start to thicken, about 25 minutes. This won’t be as thick as other jams, but you should notice a consistency change. When you think it’s looking good, put a small amount on that plate in the freezer we told you about earlier. If it sets without running all over the place, you’re good to go.
Once the jam has cooled off a little, pour it into your prepared jars. Let these cool on the counter, lids on, and set them in the fridge once the sides aren’t too hot to touch. Store them in the fridge and they should last a few months. If you notice mold after a few months, toss it and make a fresh batch.
*Don’t know how to cut a mango? We’ve gotchu.
Thanks again for joining us here in The Broiler Room’s recipe club. Exclusively for supporters we’ve created a members-only page on our website where you can access ALL the recipes we’ve shared with you here, so you don’t hafta dig through your email whenever you wanna make a lil something. All you have to do is go to this super-secret page and click on the recipe you’re interested in. You’ll see this prompt come up:

Just enter the email you signed up with (ya know.. the one you are reading this one from) and the password: roastme. Then boom, you’re in.
We’ll update this each week to include Sunday’s newest recipe so you’ll always be able to find a printer friendly version there. We hope this makes your Broiler Room experience that much better because we truly appreciate and value each one of you.
M+M