Welcome back to the sweetest corner of the internet. We’ve got two more baked goods left in our sweet treat series here and this week’s is a classic: gingerbread cookies. It might feel strange that so many places in the world celebrate the Christmas season with baked goods using a rhizome, ginger, that it believed to have originated in China. And that’s because there’s no straight path when it comes to the spread of food. Tasty shit travels, that’s the constant. The first known recipe for what we would recognize as gingerbread comes from Greece in 2400 BC. They were basically cakes made from breadcrumbs, ginger, and honey. We’d still grub down on it but that’s definitely a far cry from a proper cookie.
An early medieval European recipe for gingerbread commonly consisted of ground almonds, stale breadcrumbs, rosewater, sugar, and ginger. Yeah, not a lot of recipe development in 3,000 years apparently. The paste was pressed into wooden molds that frequently depicted Christian religious symbols that were popular in the surrounding community. Gingerbread’s history of being baked or decorated with religious imagery is a large reason we still associate gingerbread with Christmas. The first gingerbread person is credited to Queen Elizabeth I, who presented visiting guests with one baked in their likeness which quickly became the power move of the day. I wish we had a picture of what those cookies looked like because I’m certain they were fucking gorgeous.
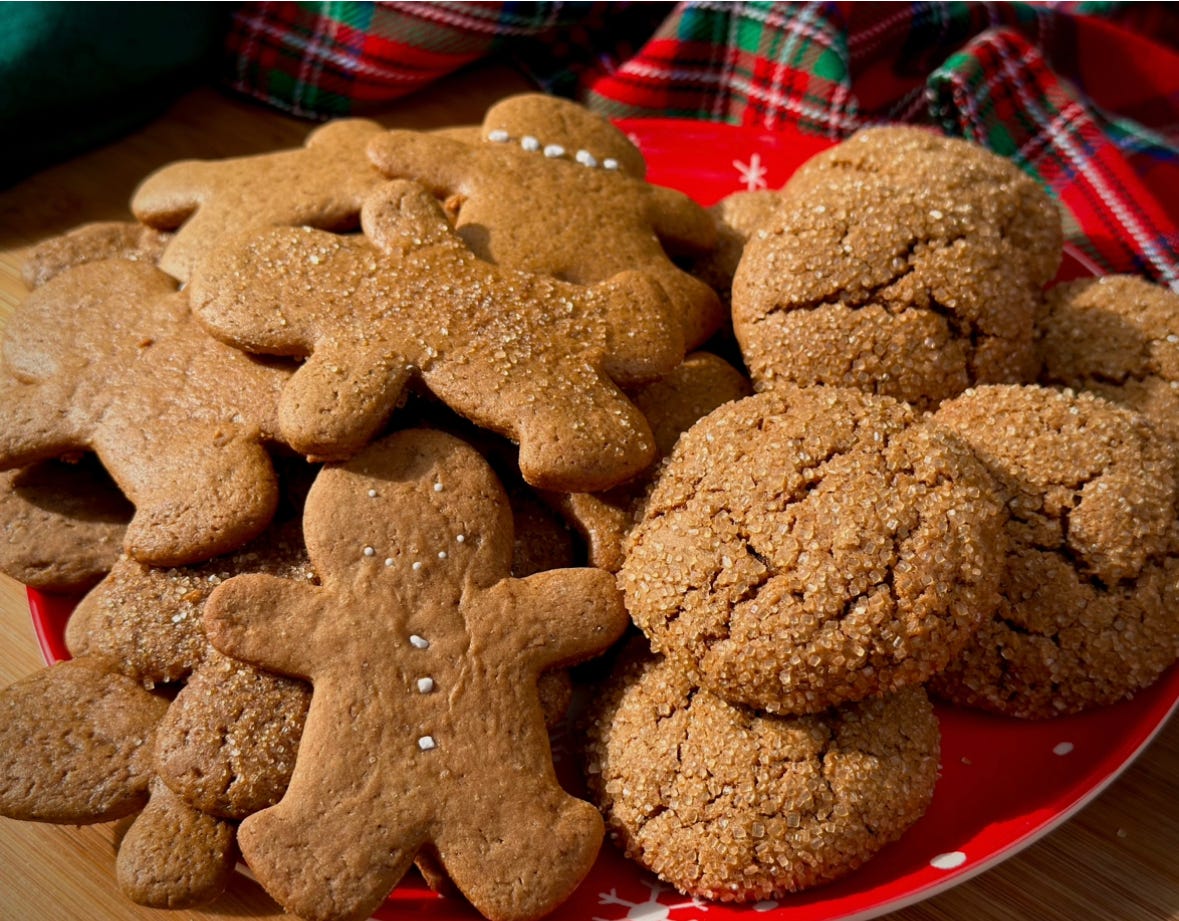
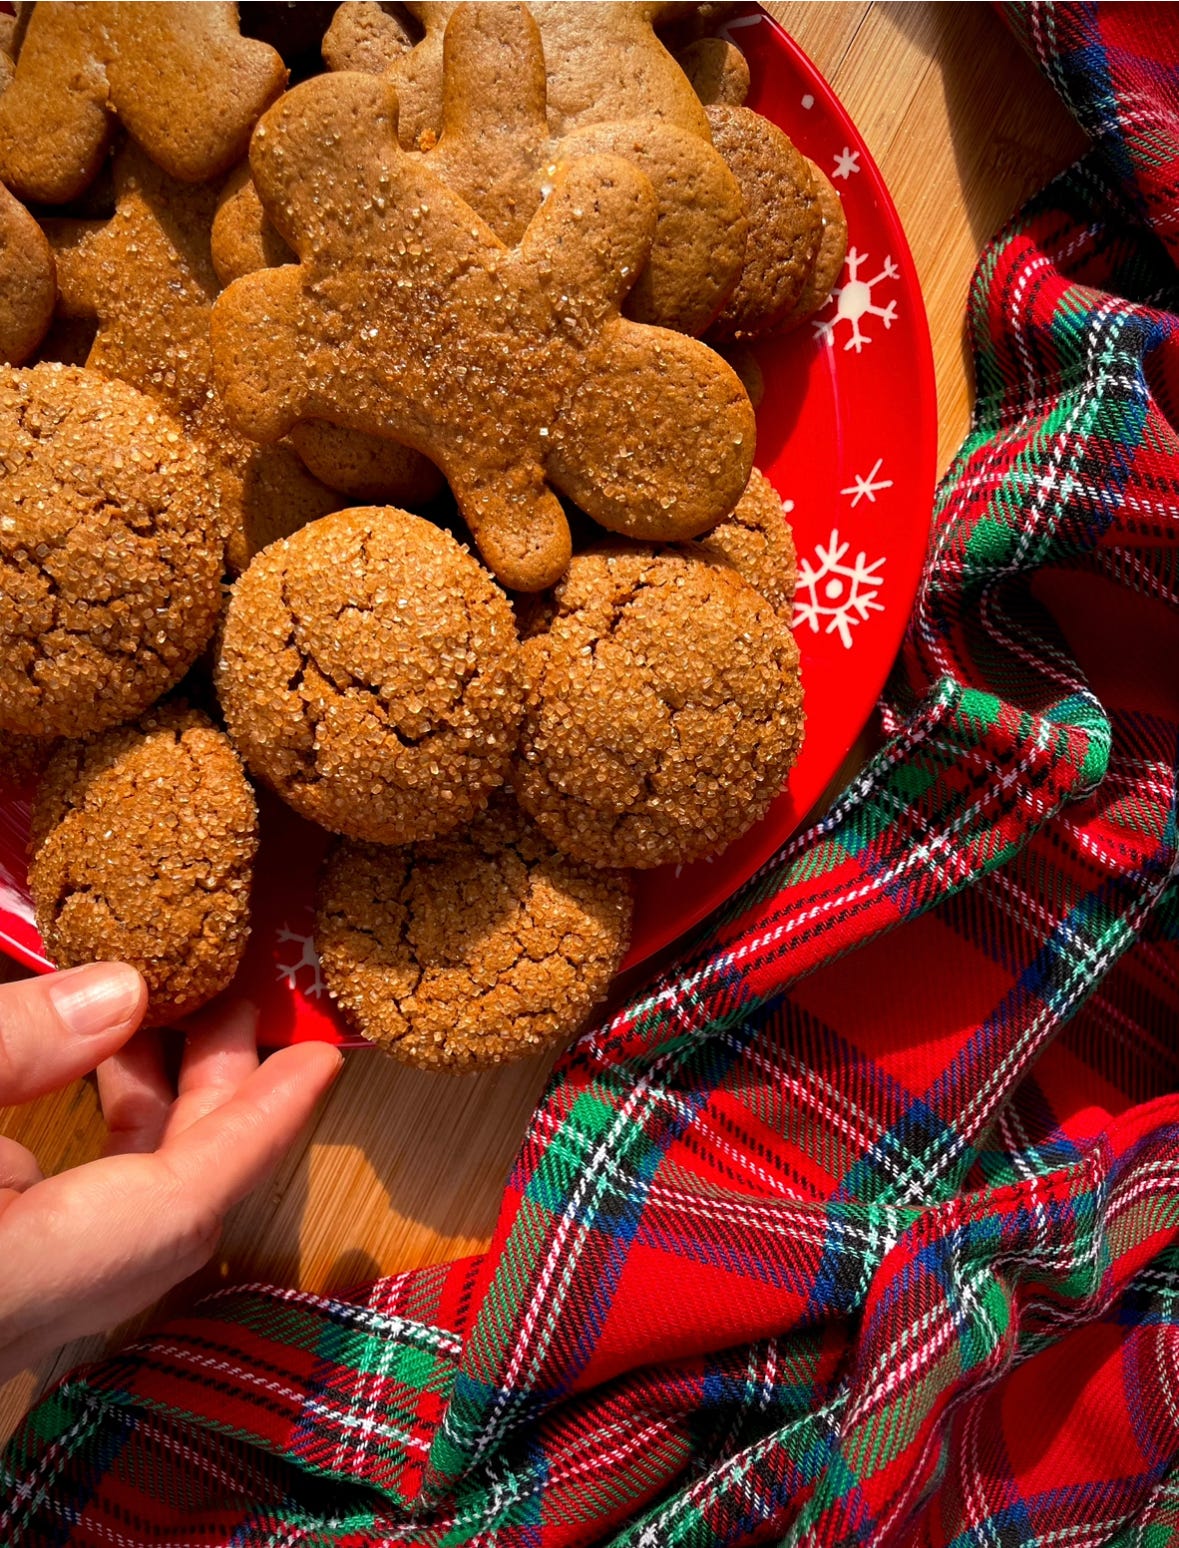
And now you can make your own gorgeous gingerbread cookies at home, even if they don’t look like anyone you know. Below there are two options: a sugar-coated ginger cookie if you can’t be bothered to chill the dough, and a roll-out version if you simply must use your cookie cutters this year. Your gingerbread, your choice.
Gingerbread Cookies
Makes about 18 cookies depending on how your roll or cut them
2 ¾ cups all-purpose flour
1 teaspoon baking soda
½ teaspoon baking powder
1/4 teaspoon salt
1 tablespoon ground ginger
1 teaspoon ground cinnamon
½ teaspoon ground cloves
¼ teaspoon ground nutmeg
¾ cup full fat coconut milk, the kind from a can
¼ cup olive oil
¼ cup molasses, not blackstrap
1 cup sugar
1 teaspoon vanilla extract
Turbinado or another coarse sugar for decorating
In a medium bowl, whisk together the flour, baking soda, baking powder, salt, ground ginger, cinnamon, cloves, and nutmeg. Now in a large bowl whisk together the coconut milk, oil, molasses, sugar, and vanilla extract until everything is all mixed up. Dump the flour mixture into the sugar mixture and stir it together until there aren’t any more dry spots. Yup, the dough is that easy.
To bake right away: warm up your oven to 350 degrees and scoop out golf ball-sized amount of dough. Roll it into a ball and then roll that ball into the sugar to coat the outside or just the top if that’s more your speed. It adds a nice texture to the finished cookie and makes them pretty but you can skip it if you like. Place all the balls of dough on a cookie sheet lined with parchment and bake for 15-18 minutes, until the cookies are firm on the sides and browned on the bottom. Let them cool on the cookie sheet for a few before moving them to a cooling rack. These guys are great for the first 4 days after you bake them then start getting a little crumbly and soft.
To use a cookie cutter: Divide the prepared dough in half, and then pat each half into a thick circle like a pupusa. Wrap the dough or stick it in a plastic zip top bag and refrigerate AT LEAST 1 hour or preferable overnight. The dough is sticky by nature and chilling it helps it firm up and makes it much easier to roll so don’t skip this step.
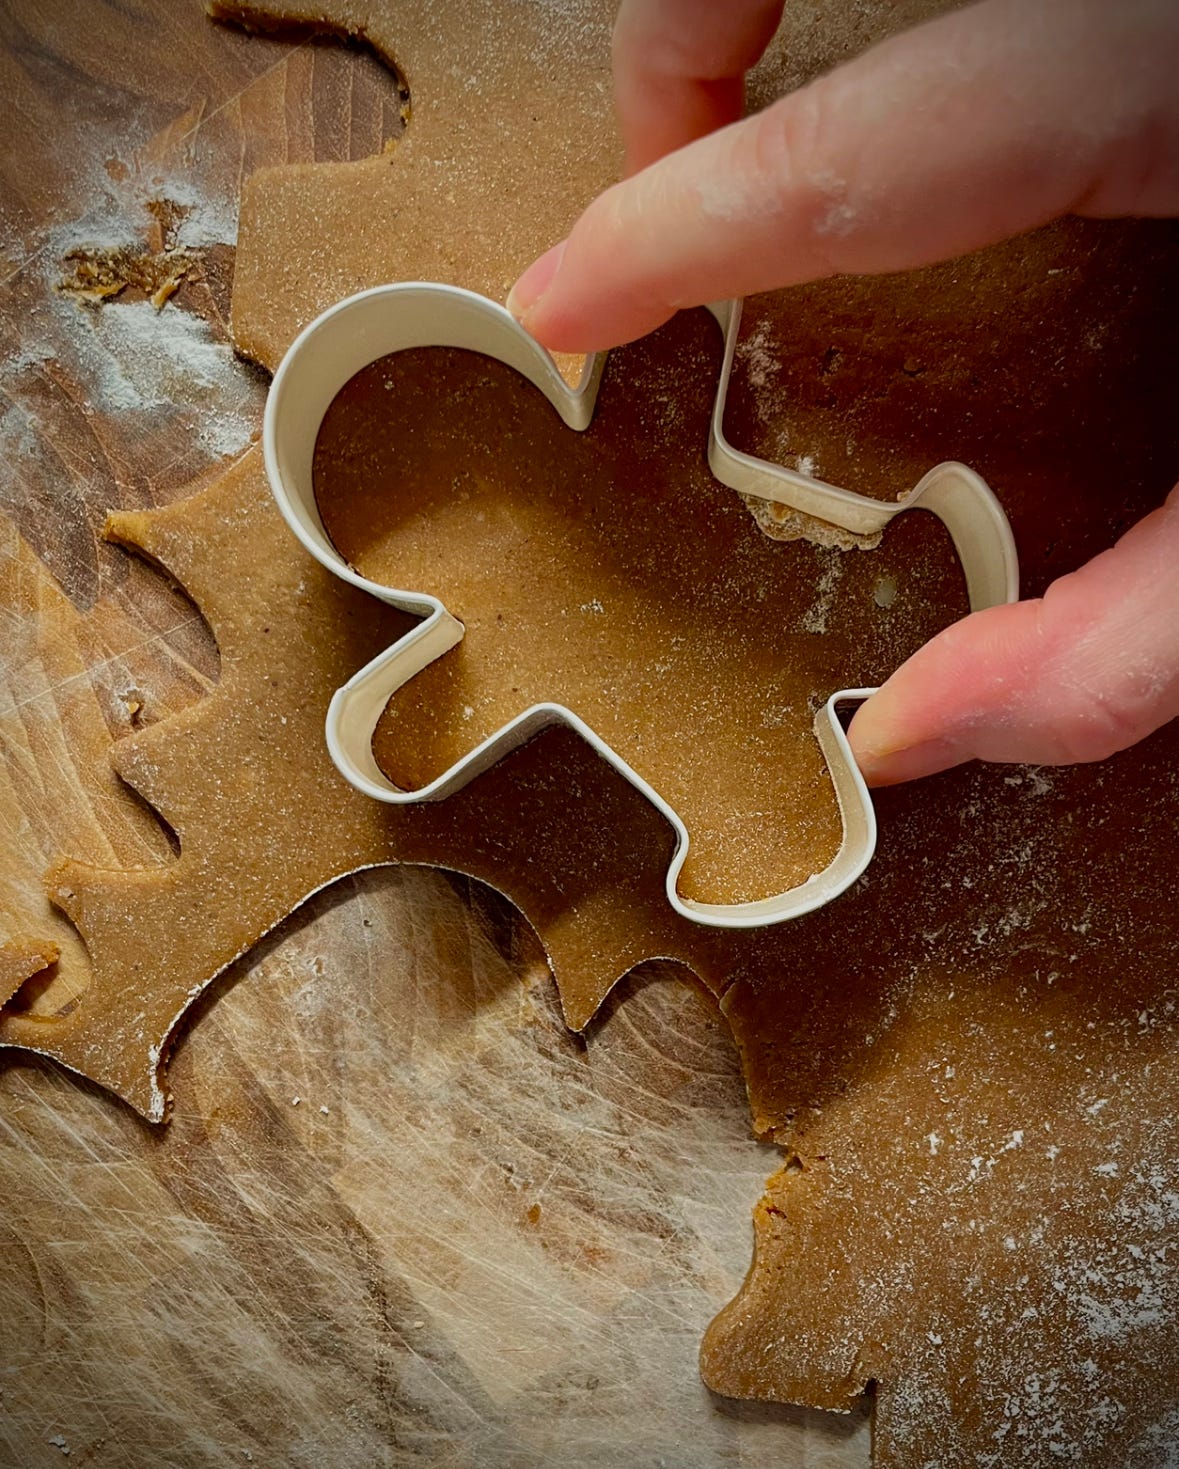
Once the dough has chilled, warm up your oven to 350 degrees. Dust your work surface and rolling pin with some flour to prevent sticking then grab one of those gingerbread disks. Roll the dough out to about 1/8-1/4 inch thick. If you want crispier cookies, go on the thinner side. Like them a little soft and chewy? Go thicker. If you’re dough is sticking to your surface, try rolling it between two sheets of parchment paper to make things easier on yourself. Cut out your shapes with your cookie cutters and place them on a cookie sheet lined with parchment. If you want to decorate them with any sprinkles or a dusting of coarse sugar, now is the time. Bake them for 8-12 minutes, depending on the thickness, until the edges are firm. Let them cool on the cookie sheet for a few before moving them to a cooling rack. Let them cool COMPLETELY before trying to decorate them with icing or anything like that. These are best in the first 3 days after they’re baked.
Thanks again for joining us here in The Broiler Room. We hope you are loving all these sweets as much as we are because come January, we’re gonna be back on our savory cooking bullshit. Whether you’re celebrating Hanukkah, Soyal, Yule, Kwanzaa, Christmas, or just like the colder weather, we appreciate you spending a little bit of your time with us.
So delicious. Made a double batch as these babies are not going to last long. Mine aren't as pretty as Michelle's because I was a bit lazy and just dropped them from the spoon instead of rolling them into balls.


So delicious. Made a double batch as these babies are not going to last long. Mine aren't as pretty as Michelle's because I was a bit lazy and just dropped them from the spoon instead of rolling them into balls.
Quick question. I've had a hard time finding full fat coconut milk. Is the lighter version okay? Thanks, and happy holidays!